Running a test deal
This page provides a step-by-step guide on how to quickly test the process of purchasing on your website. If you want to post a new test or real deal, please refer to the New Deal guide.
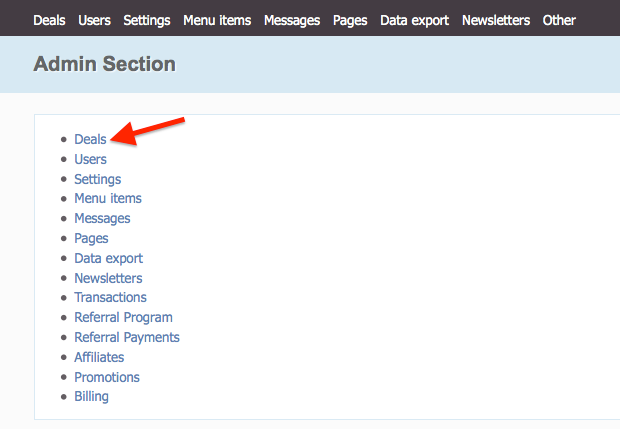
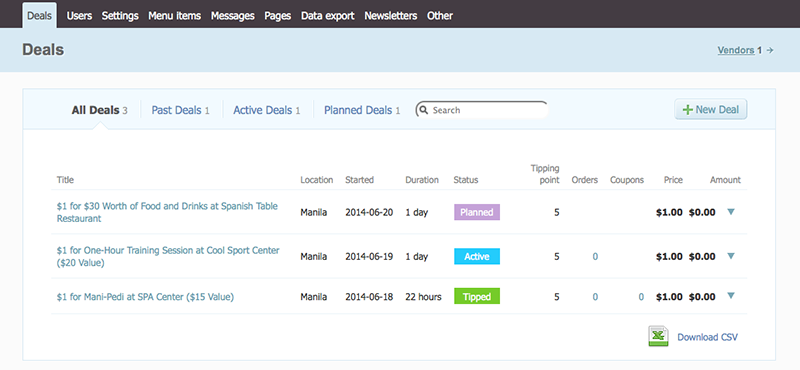
- Login to Admin section of your website and visit Deals page.
- You should have some deals available on your Deals page (if you have a live deal available, you may skip the process of creating the deal and jump to step 8 of this instruction).
- Choose from managing menu option Copy for any of the deals.
- Then you'll have an option to edit the deal to be posted. You need to change the start date – set any time in the past for the deal to be published immediately and the end date is in the future by default.
- You may also need to change the deal's currency (if the default one does not fit your business needs). Make sure that you have added the preferred currency first.
- If needed, you can change the deal's mode – Fixed or Flexible value. Though, when testing payment system, there should not be much attention paid for this setting, as the main focus is to publish the deal as quicker as possible.
- Press Save button and hit OK on the pop-up window to confirm that the deal is to be published immediately.
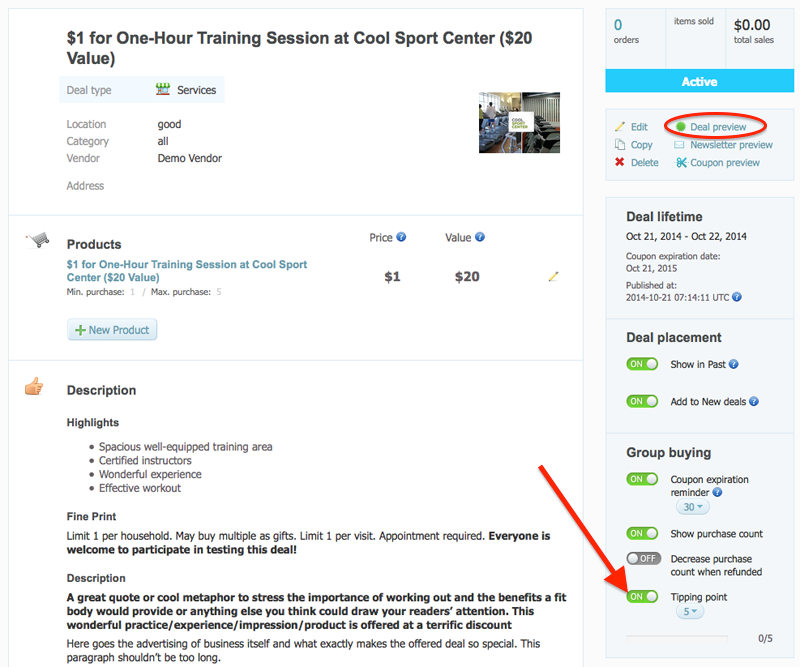
- Now you are in the deal managing area. If the deal has tipping point enabled on it, you should turn it off (for a quicker testing process). To preview the deal – click Deal preview link.
- Press Buy button on a deal page. You can test the purchase process without configuring a payment system – through your website balance, check Add Balance page to see how you can do that.
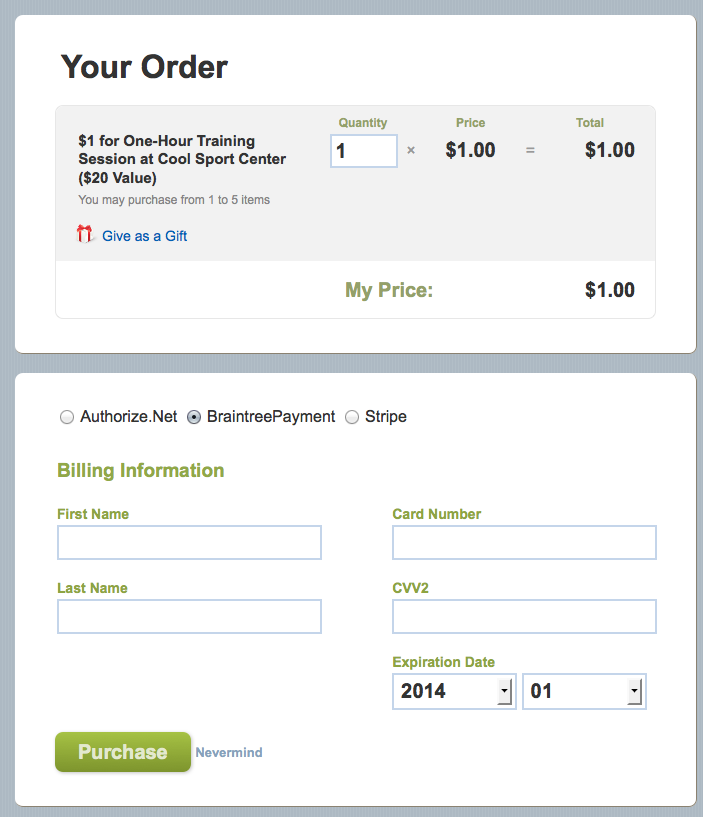
- After pressing Buy button, you will be forwarded to the order form, fill it in and press Purchase button.
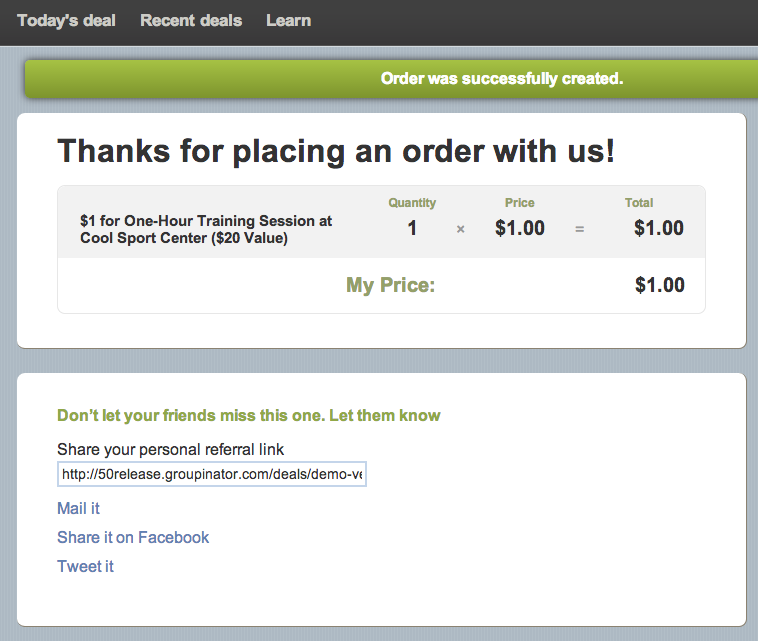
- If all is good, you will see "Thank you for placing an order" page. This means that the payment system is setup correctly (or purchase from balance worked well). To assure you may check your merchant account with the payment system you used and see the transactions list.
